You may be surprised how much value you can add to a home just by adding new floors. And vinyl planks are an easy, inexpensive way to do just that. But if not installed properly, all your time, money, and effort could have the opposite effect. Staggering your vinyl planks is an important process, otherwise your floor will look unnatural, cheap, and have a higher risk of losing its structural integrity overtime. To ensure you get the most out of this new addition to your home, here’s how to stagger vinyl plank flooring yourself.
How to Stagger Vinyl Plank Flooring
If you’re going through the trouble of switching out your flooring, you want to ensure you are doing it right. One of the best things about vinyl flooring is that it’s easy to install. Despite it’s simple click-down design, you still need to take care with how you install your vinyl plank flooring. Approach your flooring renovation with patience, preparedness, and a generous allotment of time. This will allow you to properly lay, cut, and install your new floors. Here’s how to stagger your vinyl plank flooring in eight easy steps:
Step 1:
To start, you’ll need to purchase and roundup all the necessary equipment and supplies. This list includes purchasing your vinyl plank flooring, a utility knife (and replacement blades), personal protective gear (i.e., gloves, goggles, face mask), a tape measurer, and a T-square for scoring your vinyl planks.
Step 2:
The next step involves scrupulous measuring. Use your tape measurer to find the width of the room you’re installing your vinyl plank flooring in. Then, divide that number by the width of the vinyl planks you’re installing. This will determine how many rows of vinyl planks you need to fill the room. For example, if your room is 120 inches wide and each plank measures 5 inches wide, you’ll need to install 24 rows of equally sized vinyl planks.
Step 3:
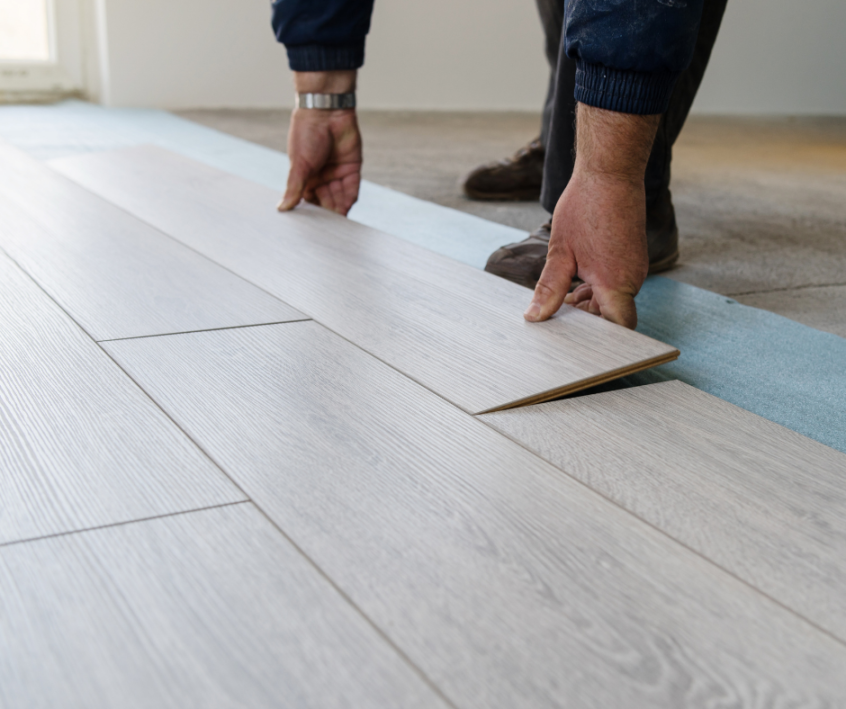
Now for the fun part! It’s time to start laying and cutting your vinyl planks. To stagger properly, place a full-length plank at the start of the first row (against the wall).
Step 4:
For the end of the first row, use a plank that’s cut no shorter than six inches long. To maintain structural integrity, you don’t want to go any shorter than six inches long with your vinyl plank. Any shorter could pose risks later.
Step 5:
Time to move onto row number two. Measure the first plank to be half the length of the starting plank in the first row and cut the plank. Once in place, the end of it should be at least 6 to 8 inches shorter than the closest seam in row one. Following this random (but highly intentional) staggering gives the effortless effect.
Step 6:
For the third row, measure the first plank to be the same length as the last plank in the first row. Repeat steps four and five to complete row three.
Step 7:
Use the remainder of the cut plank from the end of row two to start row four (if it’s over six inches long). Again, repeat steps four and five to complete row four.
Step 8:
Continue this pattern until your flooring is complete. When it comes to your last row, use the same length and order of planks in your first row for a clean, seamless, symmetrical effect.
What happens if you don’t stagger vinyl flooring?
Failing to stagger your vinyl floors not only hinders its aesthetic but its functionality as well. In terms of aesthetic, your flooring will look unnatural and eye-catching – but not in the way you want. When staggered properly, it looks professional, clean, and natural to the space.
More importantly, it will be structurally sound. Vinyl plank flooring that hasn’t been staggered is more prone to buckling and separation. This happens when vinyl flooring can’t bear the weight of heavy furniture items such as couches, pianos, tables, beds, etc. However, staggering helps with the weight distribution as the planks can properly click-in, minimizing the odds of the floor buckling and separating.
How do you calculate how much vinyl flooring you need?
When purchasing flooring for your home, you don’t want to spend money on flooring you don’t need. Conversely, you don’t want to get to the end of project only to realize you’re short on planks. So, how do you determine how much vinyl flooring you need?
- Find the area of the room by measuring its width and length and multiplying these two numbers together. If your room is irregularly shaped, separate the room into zones and calculate the area of each zone. You can then add these areas together to establish the total area.
- Add a 10% cushion to the total area. This gives you an allowance for wasted flooring, as you’ll be cutting some vinyl plank pieces to stagger your floor. Plus, it’s always wise to have some extra planks in storage should you need.
- Lastly, head into King of Floors with those measurements so they can determine how much vinyl flooring you will need to fill the space.
Looking for Flooring Stores in Surrey?
You’ve found one! At King of Floors, we keep the most diverse range of flooring in high quantities. So, whether you are looking for vinyl plank flooring, engineered hardwood, or laminate, our showroom has a range of styles, finishes, and materials to deliver your dream flooring. Not to mention, we have the best prices in the country as we buy our flooring direct. Meaning, you’re not paying inflated costs for quality flooring. To view our selection of flooring, visit our Surrey showroom where our experts can find you the product that best suits your budget, lifestyle, and aesthetic. We look forward to serving you!
🔍 Explore Our Collections
Buy direct & save. 85,000 sqft MEGA WAREHOUSE. Over 300 products in stock!
Visit our showroom today for unbeatable prices and quality products!